How to Photograph Herons Without Disturbing Them
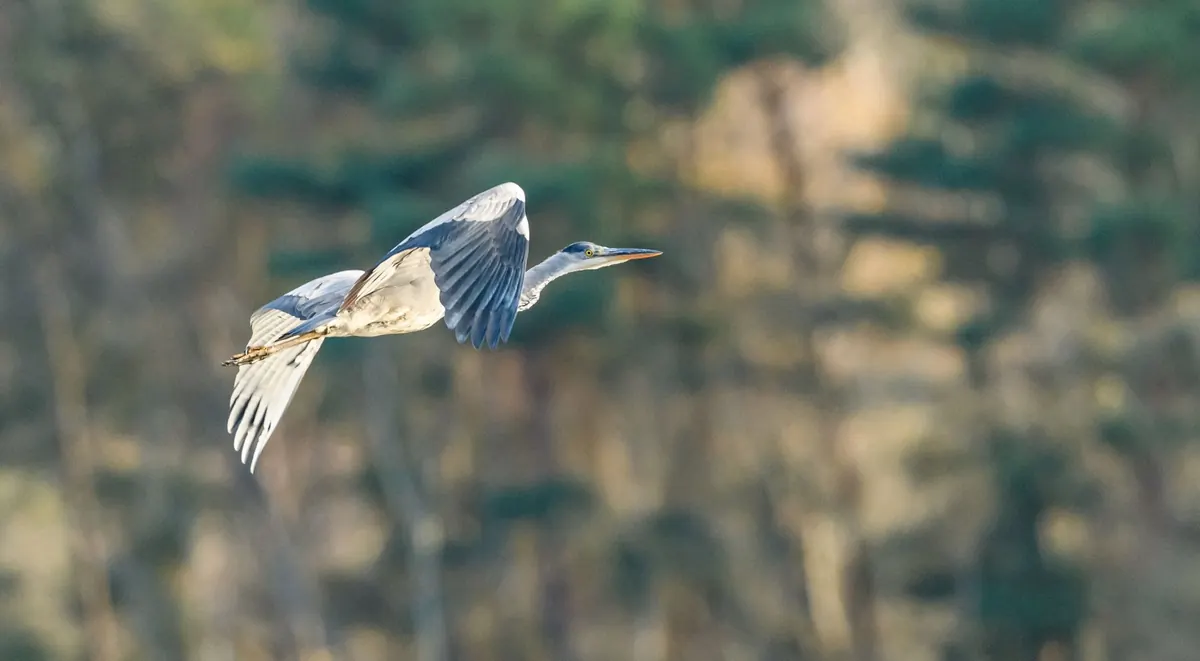
A grey heron standing in the shallows can look almost inert. That stillness is a trap for the impatient. The bird is reading the water, the light and, more often than not, you. Move too quickly, stand too tall, or let the breeze carry your scent across the pool, and those broad wings will lift and carry it away before your hand reaches the shutter.
Good heron photography owes far more to fieldcraft than to equipment. Get the approach right and even a modest telephoto will do the job. Get it wrong and no lens is long enough.
Learn to read the bird
Herons are expressive once you know the signals. A feeding bird stretches its neck forward, head low, and takes slow, deliberate steps through the shallows — that's the moment to photograph. An alert bird pulls its head back and up, straightens its neck and fixes one eye on you. That's your warning. Stop where you are, stay low, and wait.
An alarmed heron raises the crest, stretches to full height, shifts its weight from foot to foot and may flick its wings. By then you've already pushed too far. Back off twenty metres, let it settle, and try a different angle if you want another attempt.
Time spent simply watching pays off. Herons hold feeding territories and tend to work the same stretches of bank, the same pool edges, at the same hours. An hour without a camera will teach you more than a week spent chasing.
Fieldcraft: the slow approach
The mechanics of getting close are simple, though they take discipline.
- Work into the wind. Approach with the breeze in your face so your scent drifts behind you, and keep noise to a minimum.
- Stay low. Crouch, kneel, or use a bank, a reedbed edge or a bush to break up your outline. A standing figure on the skyline is the classic giveaway.
- Move in stages. Three or four slow steps, then a full minute of stillness while the bird returns to feeding. Rushing the last few metres is what spoils most attempts.
- Angle across rather than straight in. A direct beeline reads as pursuit; a diagonal path reads as a passing walker.
- Keep your gear quiet. Waders and a waterproof layer mean you can kneel on wet ground without hesitating.
A beanbag or ground pod is worth carrying. Herons are tall birds, and getting your lens down to their eye level — rather than looking down from a bank — transforms the picture. You'll see the bird against water and far bank instead of against mud, and it will look like the imposing hunter it is.
Hides, scrim and the waiting game
Reserve hides are the easiest route in. Herons using well-watched wetlands become surprisingly tolerant of a dark rectangle with a lens poking out of it, particularly if it has stood there for years. Portable options work too: a bag hide, a throw-over hide, or a length of scrim netting draped over you and your tripod. Camouflage pattern matters far less than breaking your outline and staying still.
The real skill is patience. Find a spot where you have already seen a heron hunt, settle before first light, and let the birds come to you. The first twenty minutes are the worst — zips, rustling, tripod adjustments, the shuffle of finding a comfortable position. Get all of that out of the way before the light arrives. Turn off shutter beeps, silence your phone, and avoid unnecessary movement.
Camera settings for a deliberate bird
A stalking heron moves slowly, but its strike and its take-off are explosive. Your settings need to cover both.
- Shutter speed: around 1/500–1/1000 sec for a standing or stalking bird; 1/1600 sec or faster for take-off and flight.
- Aperture: f/4–f/5.6 separates the bird from a busy background; stop down towards f/8 when you want the wider wetland scene.
- ISO: auto, with a ceiling you're happy with for your camera. A slightly noisy sharp frame beats a clean blurry one.
- Autofocus: continuous, with a single point or a small zone placed on the eye. Subject-detection modes help, but check them on the day rather than trusting the marketing.
- Exposure compensation: pale birds against dark water fool the meter. Dial in around -1/3 to -1 stop to hold detail in the whites.
- Drive mode: low-speed burst for stalking, high-speed for the strike and the first wingbeats.
Don't forget the wider shot. A heron alone in a misty pool, small in the frame, is often a stronger image than a tight portrait — and it is a picture that only works if you haven't spooked the bird in the first place.
How close is too close?
There's a simple test, and it is behavioural rather than measured in metres: if the bird changes what it's doing because of you, you are too close. A feeding heron that stops feeding, a resting bird that stands up, a bird that walks or flies away — those are all answers to a question you shouldn't have asked.
Nesting season deserves particular care. Herons nest colonially, often in tall trees, and disturbance at a heronry can expose eggs and chicks to cold and to predators. In the UK, disturbing nesting wild birds is an offence under the Wildlife and Countryside Act 1981, and some species require a licence for photography at the nest. If you're planning anything beyond distant observation of a heronry, check the current rules with the relevant statutory nature conservation body before you set out.
At feeding sites, stay on paths and in hides, keep dogs under close control, and avoid baiting birds with fish to bring them within range. It alters natural behaviour and rarely produces a better photograph.
A routine worth repeating
Arrive early. Settle in one spot and watch before you shoot. Pre-set your settings so you aren't fumbling when the bird appears. Approach slowly, into the wind, using cover, and stop the moment the heron notices you. Leave it feeding when you go.