Common Birdwatching Mistakes Beginners Make (and How to Avoid Them)
Common Birdwatching Mistakes Beginners Make (and How to Avoid Them)
Every birder has done it, usually in the first year. A small brown shape flits into a hedge, you get a two-second glimpse through the binoculars, and by the time you lower them you have already decided what it was. The name arrives before the bird has been properly seen.
Most beginner mistakes in birdwatching come from the same place: impatience. The good news is that each one is easy to fix, and fixing them makes a morning's birding far more satisfying.
Rushing the identification
The commonest error is naming a bird before you have watched it. A quick impression of a yellow bill or a flash of white in the tail feels like evidence, but it is not. Beginners often open a field guide mid-sighting, flicking through pages while the bird slips away, then talk themselves into whichever species fits the half-detail they managed to see.
Turn it round. Watch first, decide later. Notice shape before colour: dumpy or slim, round-shouldered or upright, short-tailed or long. Then the bill — fine and pointed, stout and triangular, hooked. Then movement: creeping up a trunk, hovering, darting from a fence post, wading in shallow water. Habitat and season next. Plumage comes last, and often matters least.
- Get the bird in your binoculars and keep it there. Give it a minute if it will sit still.
- Work from general to specific: size compared with a sparrow, blackbird or pigeon, then shape, bill, tail, legs, and posture.
- Note what it is doing. Feeding on the ground, flycatching from a branch, climbing a trunk, hovering, or swimming tells you as much as colour.
- Check the habitat and season. A streaky brown warbler in a reedbed in June is not the same bird as a streaky brown warbler in a city park in November.
- Say the description out loud or write it down before you open a guide. "Small, brown, streaky, cocked tail, creeping along a wall" is far more useful than "probably a sparrow."
- Only then reach for the field guide or app, and use it to test your description, not to replace it.
Describe the bird to yourself before you name it. A description can be checked; a name can only be argued about.
That last point matters more than beginners expect. A wrong identification is not a disaster, but an unexamined one is a missed chance to learn. If you cannot identify a bird, write down what you saw and try again another day. The mystery bird will still be there, and next time you will have a better search image.
Not learning the common birds first
New birders often chase rarities before they know the locals. This is backwards. The better you know the twenty or thirty commonest birds in your area, the faster you will notice when something is different. A familiar shape in a familiar place becomes a useful baseline: that is a house sparrow, so the slightly smaller, streakier bird beside it deserves a second look.
Start with the birds you can see from your window or on a short walk. Learn the robin, blackbird, blue tit, great tit, house sparrow, starling, woodpigeon, magpie, carrion crow, mallard, moorhen and coot. Notice their calls, their postures and their favourite feeding spots. This is not boring homework. It is the foundation of every identification you will make later.
Fighting the binoculars
Many beginners blame their eyesight when the real problem is technique. The trick is not to find the bird with the binoculars. Keep your eyes fixed on the bird, then raise the binoculars to your eyes without looking away. It takes practice, but it becomes automatic. Practise on a stationary object first: a leaf, a sign, a distant chimney. Then try a slowly moving target, like a duck on a pond.
Adjust the eyecups, set the dioptre for your eyes, and learn to focus smoothly. Do not walk with binoculars glued to your face. Lower them often, check the bird with your naked eye, and re-find it. A pair of 8x42 binoculars is plenty for most birding; bigger is not always better if you cannot hold it steady. Keep the strap around your neck or shoulder, and clean the lenses with a proper cloth, not your shirt.
- Keep both eyes open when you raise the binoculars; it helps you stay oriented.
- Use landmarks — a dead branch, a gatepost, a patch of reed — to relocate a bird.
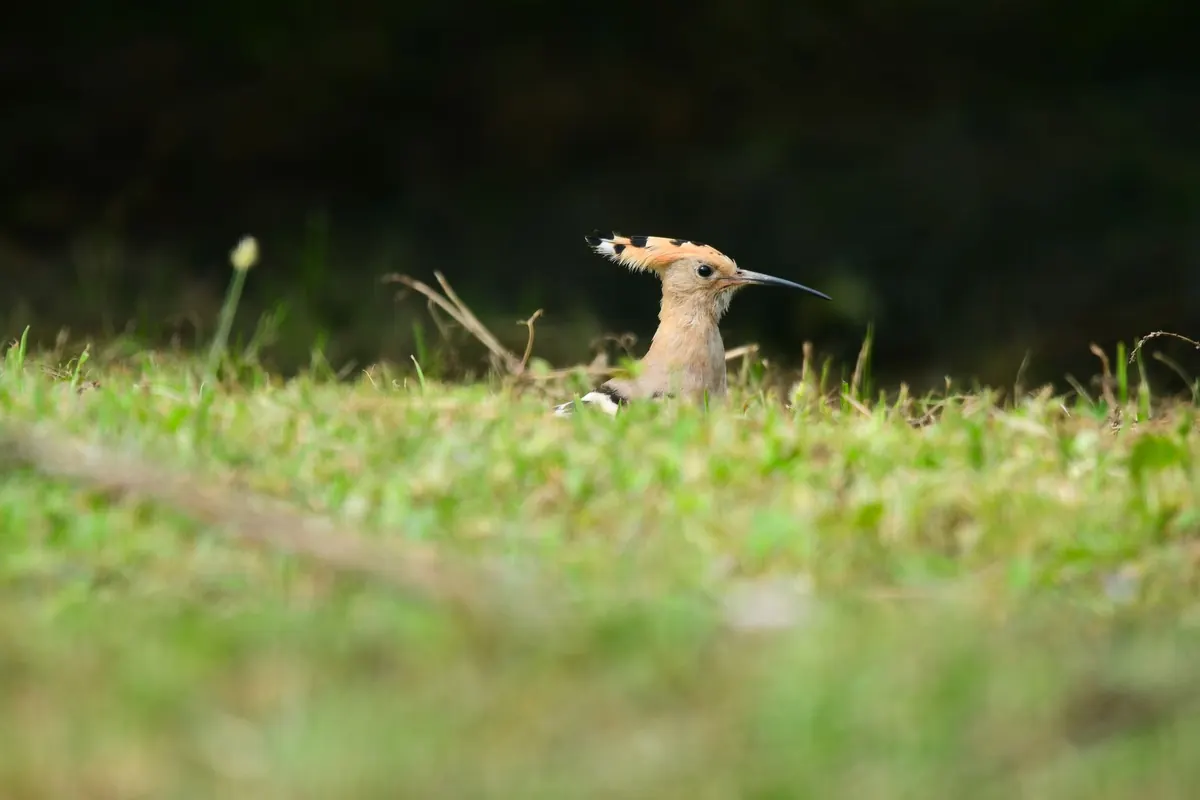
- Do not chase a bird with the binoculars from a distance. Move closer first, then look. Photo: Joseba Garcia Moya / Pexels